
Welcome
Welcome to Day 1 of the 30 Days of Warm Ups and Movement Prep.
Today we will be working on hip mobility and shoulder mobility as well as preparation of those areas for a training session.
If you haven’t already, download our 30 Day Challenge Guide.
Free download
Basic Squat Assessment
Find out what is limiting your squat with a simple self-assessment.
The 30 Warm Ups and Routines in this guide are meant to be used before or after a training session.
Each day was originally designed to be done for 30 minutes, however, with much testing and feedback, 15 minutes is now recommended.
These sequences are designed to be done for the allotted time (15 minutes) working through the reps at a low to moderate pace.
Day 1 – Shoulder and Hip Mobility and Prep
Today is day 1 of the challenge and we begin with shoulder and hip mobility and prep.
Movements
- 50 single unders
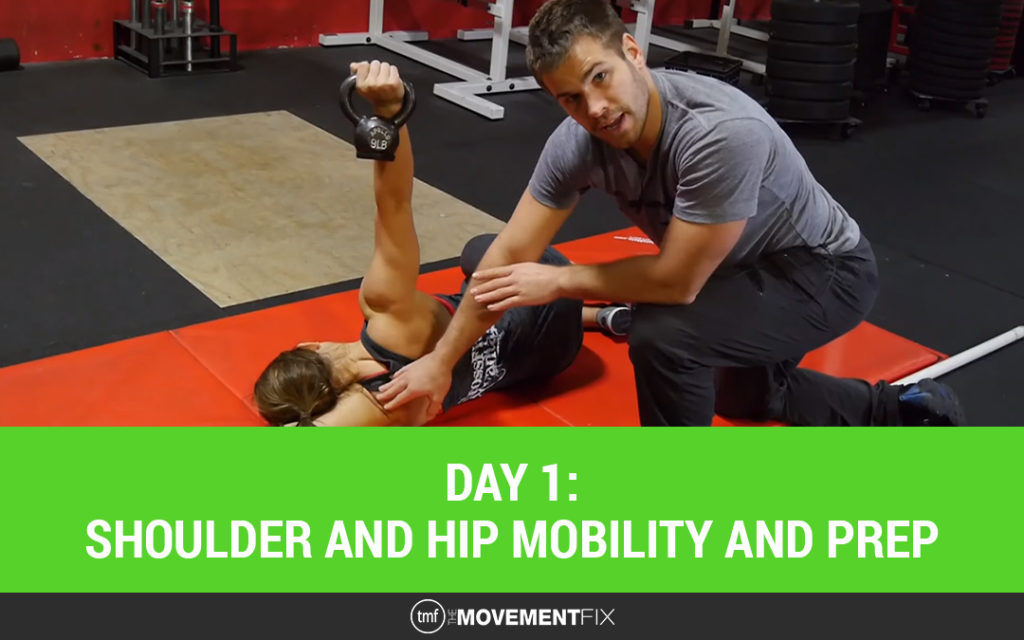
- KB arm bar, 10 breaths each side (9lbs)
- 10 lateral lunges
Single Unders
Single unders are used in this sequence to get the heart rate up and develop people’s skill using a jump rope in ways other than doing double unders.
Kettlebell Arm Bars
This can be used to focus on stretching the down arm or the up arm. In the video, we describe it as stretching the down arm, but an arm bar can also be used to stretch the up arm, which is not described in the video. When switching sides with the kettlebell, please do not take the kettlebell over your face for safety.
Lateral Lunges
Make sure you use the dowel to learn the 3 points of contact so you have a neutral spine throughout this movement.
The 3 points are: the back of the head, between the shoulder blades, and the lowest part of the low back (over the tailbone).
As long as you maintain the 3 points of contact as described, it isn’t important to us if the hips shoot back and the torso leans forward. The goal ultimately is to be able to do the lateral lunge with the dowel in an overhead squat position. However, while learning, all we need is the 3 points of contact.
The mechanics of the lateral lunge on the side that you are lunging toward should follow the same rules as a good squat (knee tracks over the middle of the foot and doesn’t collapse in, for example).
The mechanics of the lateral lunge on the side that you are lunging away from aren’t as important to us, do what is comfortable. You can keep that side’s foot on the ground or lift your toes off the ground and go on to your heel.
What’s Next
Head over to Day 2.
Free download
Basic Squat Assessment
Find out what is limiting your squat with a simple self-assessment.
Hi Ryan,
Thanks for the video. Question: why do I want to maintain 3 points of contact with the pvc pipe during the lateral lunge?
Thanks,
Luke
Hey Luke, yes! That is the intention.
Thank you. I’m an older female who does medium weights for fitness and I appreciate someone with knowledge to show how to work on flexibility and proper form.